Monday, December 24, 2007

Winter comes to DR


I've been continuing with the house despite the onset of cold weather. Some of the things I've been working on have been: installing the chimney and stovepipe; finishing the ceiling in the second floor; finishing the light straw insulation; plastering; and putting on a new door. The house is now almost winter proof as far as insulation, heating, and sealing up drafts.

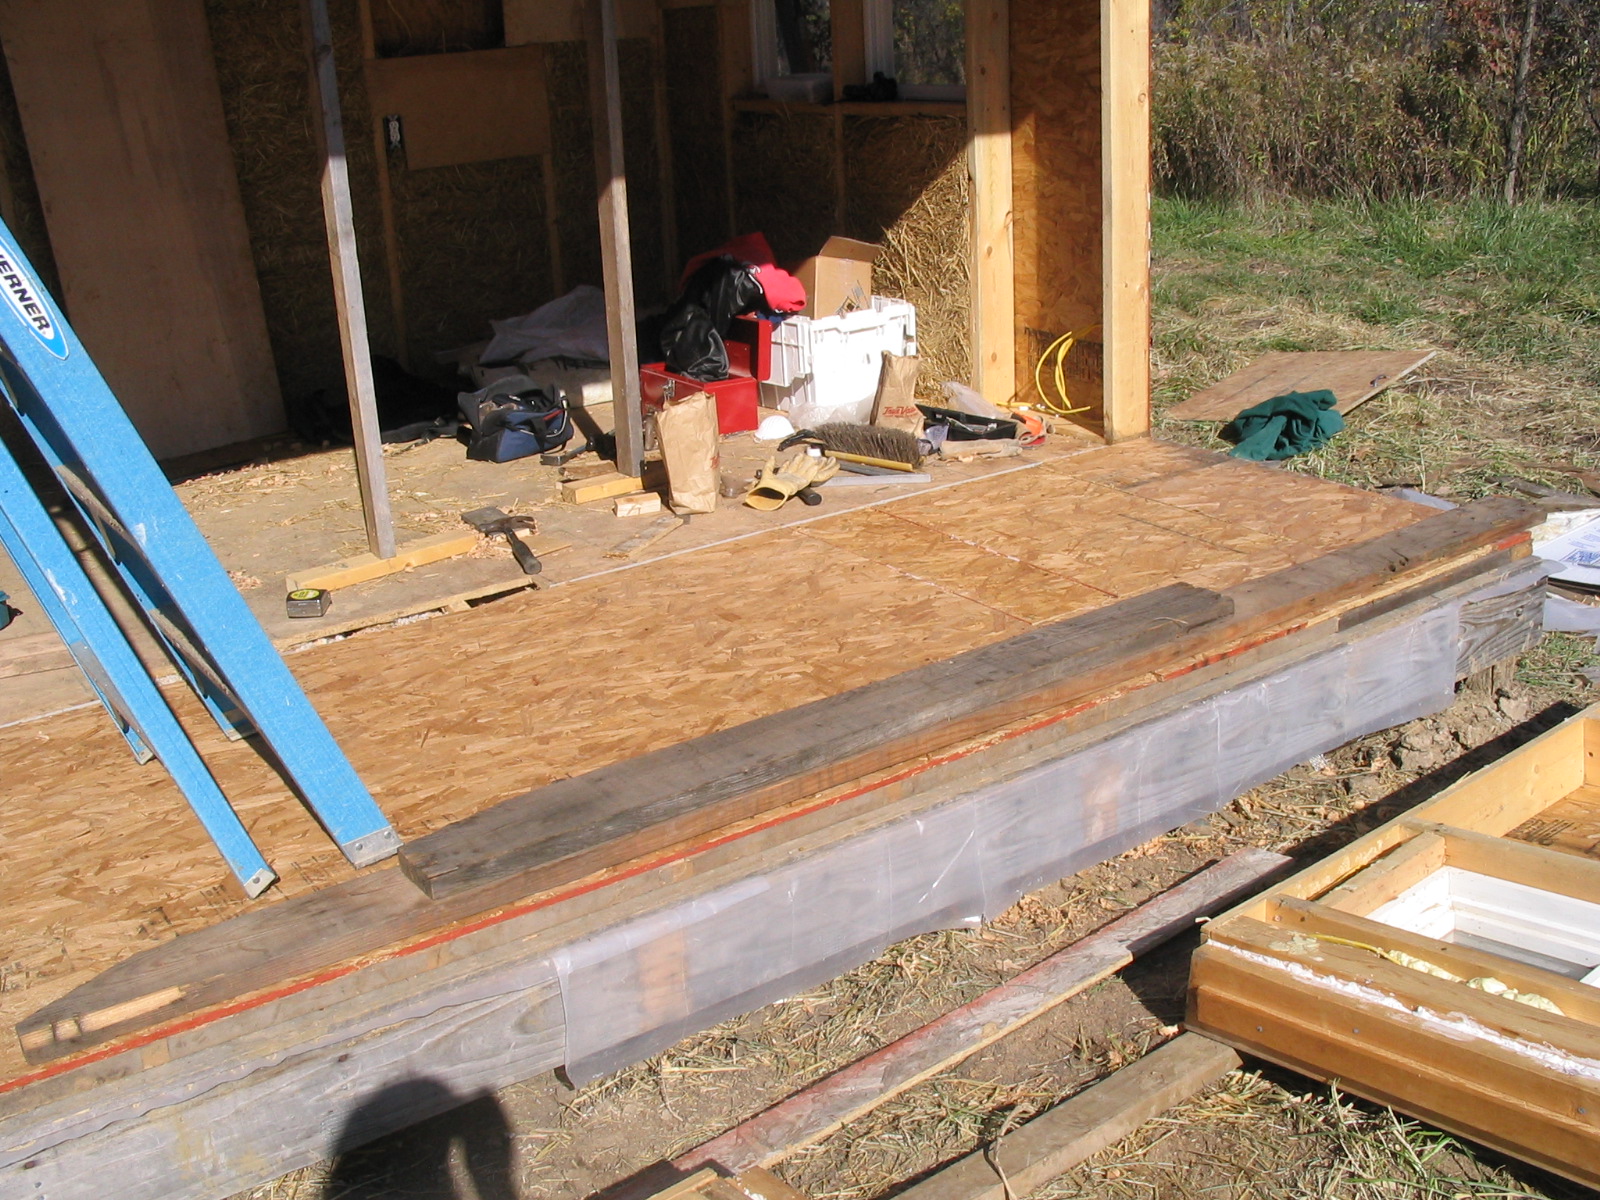
This is the full wall of the lower level insulated with light clay straw.


Thor puppy demonstrates the value of straw as an insulator. Being an outdoor dog, Thor has to endure the cold weather and though he doesn't know the science behind why straw is a good insulator, he is drawn to straw beds in the gardens around DR because he knows they are warmer places to sleep. The kids helped him out by piling more straw on him.

I chose fiberglass insulation for the roof between the rafters simply because it is easier than the light clay straw since the roof is not vertical, and it insulates better, which is important for the roof, where more of the heat is likely to escape. It is not the most ecologically sensitive material to use because it has a lot of "embodied energy" (meaning its manufacture requires a lot of energy), but since I had to get the house ready for winter in a short time I decided to make this concession.


After finishing the insulation. My goal was to get the stove in so I could begin lighting fires to dry out the insulation and new plaster. I finally got the chimney and stove pipe, but then we had an icestorm, which made climbing up a ladder and walking on the roof difficult as both were slick with ice. I began framing the inside rafters to hold the heavy weight of the double walled stainless steel chimney. When the weather cleared up I made the venture up to the roof and began cutting the hole and installing the chimney. After some minor snags I got everything installed.


I finished up the ceiling in the second floor by putting a vapor barrier over the fiberglass and covering it with 1/4" plywood that came with the house when I bought it. I will probably take out the plywood in the future and replace it with something more substantial later.


Before actually lighting the stove I wanted to plaster the area closest to the stove and stovepipe so it would be protected from the heat. I nailed a few blocks up on the studs to stick out from the plaster so I would have something to attach a sheet of roofing to as a heat shield (picture below).


I continued plaster the upper level and after finishing moved my bed in. The wooden boards are nailing strips nailed to the studs to allow the hanging of pictures. I really like the way the plaster looks against the woodwork.


To mix the plaster in the cold I've had to bring the ingredients inside the house and warm them with the heat of the stove before bringing them outside to mix. People don't typically mix and apply plaster this late in the season. There could be some potential problems with mold forming because it's so cold and drying could take longer. I 'm hoping that because in a wood heated house winter is such a dry season, there won't be a problem with drying out the walls at this time of year.
I put up the tin heat shield behind the stove to reflect heat back into the room and away from the straw insulated wall. When I touched the tin during a very hot fire in the stove it was cool.


The last thing I did before going away for the holidays was to put on a new door. The old one opened out and was hung crooked. I had to cut down a scavenged door to fit the small opening available. I also had to cut and shape the threshold from a 2 by 6. I plan to put a more interesting veneer on the front of the door and add another pane so that the window insulates better. For now, as long as it keeps out the cold, I'll be happy. It does not allow the draft that the other door did.

When I get back to DR I will plaster the last section of wall on the first floor and hopefully the house will be warm enough to live in. I am looking into power systems since right now there is no power in the house. I would like to cooperate with others in the area to get power, but right now there is no excess power. I may get a wind turbine and cooperate with the grain bin next door that now has only solar panels for power.

Friday, November 16, 2007

Getting the new house ready to live in

So I've been working hard to get the house ready for winter. Things have been going well overall. My Dad came to visit in late October for a few days and we made a lot of progress.
The first project was to move the front wall out to enclose the porch.

I wanted to get the front wall off in one piece so I wouldn't have to take it apart piece by piece. This was a bit of a trick, but it did come off.

Next I worked on getting the floor insulated. My Dad helped with redoing the floor over the former porch, moving the front wall out, and framing the side walls.


Finally we put wheat sheet over the side walls as sheathing. Wheat sheet is a pressboard made from wheat straw, so it is made from recycled material. I didn't have enough extra OSB(oriented strand board, it covers the rest of the house) to cover those new wall sections, so I had to use the wheat sheet, which is acceptable under the DR covenants. New OSB would not be.

Once we got the wheat sheet on I had to cover it with temporary roofing tin to protect it from the rain (see picture below). Then I continued on the light clay straw insulation. I'm just now finishing up the insulation. The walls are essentially done, there is just a small strip to insulate between the first and second floors.


The next thing to do was to order the stovepipe and get going on installing the stove so I could warm the place up and dry out the insulation. It has to be dry to be able to plaster. It took a week for the stove parts to arrive, but after getting the parts and bringing them back here I realized that one very important part of the chimney is not included with the chimney kit, so I had to wait another week to get this part.


In the meantime I got started with putting a skirt on the bottom of the house to stop the wind from blowing under the house and cooling it off. This took less than a day but has already made a huge difference in the temperature inside. The corrugated tin not only blocks the wind but it provides a wall to hold soil in a garden bed, which I plan to build on at least two sides of the house.

Monday, October 22, 2007

My new house

The house move I talked about in my last post happened last week. Though there were some skeptics who never thought the house would make it here, it did make it in one piece and with only minor blemishes. Those crazy house movers Zimmerman's Excavating had told me earlier in the day that because of the rain storms we were expecting, they wouldn't be able to move it. It did rain a lot that day, and unable to do much I practiced piano in the common house. While I played, someone stuck their head in the door and asked if I knew my house was coming down the road. I said no and ran outside to find the house at the end of the drive.

I ran to get my camera and a crowd gathered to watch a house on a front-end loader coming up the drive.

As the loader eased its way in, the house swayed side to side with the uneven terrain. People kept thinking it would tip over.


They got the house in close to the spot where it would stand and began to dig the holes for the posts. The house would stand on the same Osage orange posts it was built on. Over on Red Earth Farms, where they moved the house from, they'd pulled up the posts after picking up the house. Osage orange is an extremely rot resistant wood and the tree grows everywhere here. The posts reach down below frost level so that the house will not shift over time with the frost heaving that can happen in a cold climate.


They didn't have time that day to finish getting the posts level so they left everything there for another day. When they came back, they lifted the house above the posts and bolted them on before lowering the house and posts down. Everything worked out, though getting the posts all set up took awhile. I figured it was better to spend the extra time to get it right so I wouldn't have to worry about it in the future.


Once the house was in place, they went and got the shed, which was considerably easier to move and put in place.


So now DR has a new residence, I have a new place to live, and I have a new storage shed on the warren of my future house. Now I will focus on insulating the house, getting a wood stove installed and making the new house ready for winter living.

Saturday, October 13, 2007

Insulating my new house

I came to DR thinking I would build a small house I could practice learning natural building techniques on, but then my plans changed. I decided to build something a bit larger and more permanent. When I was originally planning on building something small and temporary, I thought I would live there until I finished a larger house, then rent it out for a little income. DR also needs more living space for people just moving here, so figured more houses here would be better. But then, after I'd changed my plans, I found out about this house at neighboring Red Earth Farms (kind of like DR, but for homesteaders).


The person who built it only lived there for a season and never fully finished the house, but the important parts were there-- the framing and sheeting, windows, door, wiring for electricity, roof and gutters. The house was for sale but there weren't really any takers because the person buying it would have to become a member of Red Earth, or rather, a Red Earth member would have to be interested in the house for it to get sold. There was a deadline for the house to be sold or the owner would have to come and take it down. I thought it would be a shame for it to be torn down after such a short life and with DR needing housing I thought of the possibility of moving it over here. I thought I could live in it while I build my other house, then rent it out and DR would have another housing option.

It seemed like a small house, but it was hard to find someone who could move it. Finally, I did and now I'm waiting for them to set up a time to come and do it. I was originally planning to start insulating it and getting it ready for winter (it is not insulated and has no heating system) after it was moved here. Then the other night I was wondering why I had to wait. Since I have no exact date when the movers will get a chance to move the house, why not begin getting it ready for winter. With the days getting chillier all the time, I have no time to lose. So I've begun the insulation.

I thought about doing blown cellulose in the walls but wanted at least some part of the house to demonstrate natural building methods. At Red Earth there are no restrictions on using new lumber, so the house was built with all new lumber and OSB (oriented strand board). I'm keeping with the DR covenant on new lumber by recycling the entire house, but I decided to insulate with something called light clay straw, or light straw clay as some people call it. This is basically a mixture of clay slip (clay and water mixture) and straw.


Forms are nailed onto the studs to enclose the wall and the space is filled with this straw clay mixture. It is packed into all the corners.


After a section is filled the form can be immediately removed and the packed straw clay holds its shape. It is then allowed to dry in place and is later plastered over with earthen plaster.


This insulation has an R-value of at least 10 and the clay coating on the straw retards fire apparently (I still would like to test this sometime). Anyway, Brian, one of the newer DR residents is helping me out during October and we've been doing this project together. It's actually pretty fun to mix the straw and clay and pack it in the walls. So if we can make some serious progress on insulating, maybe by the time the house is moved, we can start the plastering. We'll see.


If you want to hear about another house here that was insulated with light clay straw, check out the DR video blog at drtv.dancingrabbit.org.

Tuesday, October 2, 2007

This season's garden

One of the first things I did upon getting to DR was start a garden. People at Skyhouse let me use a few beds of their garden at first and then I added to my garden space by renting a piece of land next to the Skyhouse garden.

This area had not really been gardened for awhile so it was a tough job getting all the beds laid out.
I wound up with a huge pile of sod that I've been composting all season. Ananda came to visit me about a month after I arrived and helped me get this garden established.
I was able to begin planting in this new garden in June or so, a little late for this region. I've planted a lot of bean varieties, peppers, tomatoes, carrots, eggplant, parsnip, basil, epazote, summer squash, muskmelons, watermelon, cucumbers, broccoli, cabbage, onions, scallions, walking onions, Chinese cabbage, beets, cauliflower, corn, cilantro, garlic, and celery.


One thing I was really happy to be able to grow this season was corn. In Madison, if you plant corn it will get eaten by raccoons as soon as it gets close to being ripe, so there really was no point in growing it there. Here I was able to grow it, but the only things interfering with a good harvest were the soil and the rats. This new garden was not very fertile, so the corn grew, but didn't produce much. Only one variety really produced good sweet corn, and the popcorn did well. I planted pole beans with one flour corn variety, and this made the plants lush, green and productive, but then the rats were able to scale the beans to reach the grain and they ate it all. I'm going to have to figure out a better way, because I love corn.


These are pictures of the garden about a month after planting. After planting the garden, I needed to figure out some way to irrigate. I'd been used to gardening with a water spigot within a hose reach of my garden, but at DR there are no spigots. There was an old cistern that had been used in the past by a former gardener near the machine shed, and it wasn't collecting water anymore. I decided to have that moved over to a building closer to my garden and to other water-intensive activities.

I also installed a few rain barrels on the Skyhouse garden shed to collect water off that roof too. Unfortunately, the dry spell that lasted about two months this summer had already begun when I finished these water catchment systems, so I didn't really get to test them until later in the season. In the meantime, I used the Skyhouse and common house greywater system to irrigate. Wastewater from the kitchens and showers flows into a filter pond planted in water plants before it makes its way through a pipe to the cattail pond. We use biodegradable detergents and soaps, so the water is ok to put on the plants. In fact the part of the Skyhouse garden where the greywater used to drain is incredibly fertile.


I was able to overcome my mulching difficulties by getting newspaper from the local Memphis Democrat, which I spread between rows before covering it with hay and straw. In Madison, I'd always had access to leaf mulch, something not so abundant out here in the country.

I could water, and I didn't have to weed anymore, so I mostly spent my time watering and watching stuff grow. The harvest has been good, though there were some surprise pests and notable absences of pests gardening in a new region. There were strange new bean beetles, and blister beetles, that ate the leafy greens, along with the usual flea and cucumber beetles.

This is a pizza Brian and I made with nearly all garden and local ingredients. The basil, tomatoes, garlic, and onions came from our garden, the wheat (freshly milled) came from Sandhill, a nearby community, and the cheese (homemade mozzarella) came from milk from the organic dairy only about a mile down the road. One pizza was topped with homemade tofu I made with soybeans grown at Sandhill. The only non-local ingredients were oil, salt, and a few of the spices. It was probably the best pizza I've ever had. Next time I want to make it with cheddar cheese.


My garlic harvest was pretty good considering I planted it in the spring. I plan to plant a lot of it this fall and have a bumper crop next season. I've continued to fill in and plant more crops when I've harvested something. I planted cauliflower, cabbage, and broccoli as fall crops and they are huge now and setting fruit, or rather setting vegetables.


I eat at Bobolink eating co-op and I'm able to count my gardening time towards my food bill. I've put in enough hours this season to offset my food bill entirely. I've also provided a lot of food for Bobolink.